The hardscaping and structural foundations of your property are meant to last a lifetime. Unlike a coat of interior paint or a minor landscaping refresh, pouring a new foundation, patio, or parking area is a permanent commitment to the functionality and aesthetic of your space. Doing it right the first time is not just a matter of visual appeal; it is critical to avoiding costly, disruptive disasters down the road. Poorly planned installations can lead to severe drainage issues, foundation damage to your home or building, and premature cracking that completely voids the investment you just made.
Unfortunately, property owners often unknowingly hire the wrong type of professional for their specific need. The hardscaping industry is vast, and a crew that excels at pouring standard sidewalks might not have the engineering knowledge required for load-bearing industrial floors or the artistic touch needed for high-end decorative patios. Hiring a generalist for a specialized task frequently results in subpar work, voided warranties, and structural failures that rear their ugly heads after the first hard freeze or heavy rainstorm.
This comprehensive guide serves as your step-by-step framework for evaluating your property’s specific needs. By reading through this in-depth manual, you will learn how to choose the correct repair or installation method, understand the technical requirements of your project, and strictly vet the professionals who will execute the job.
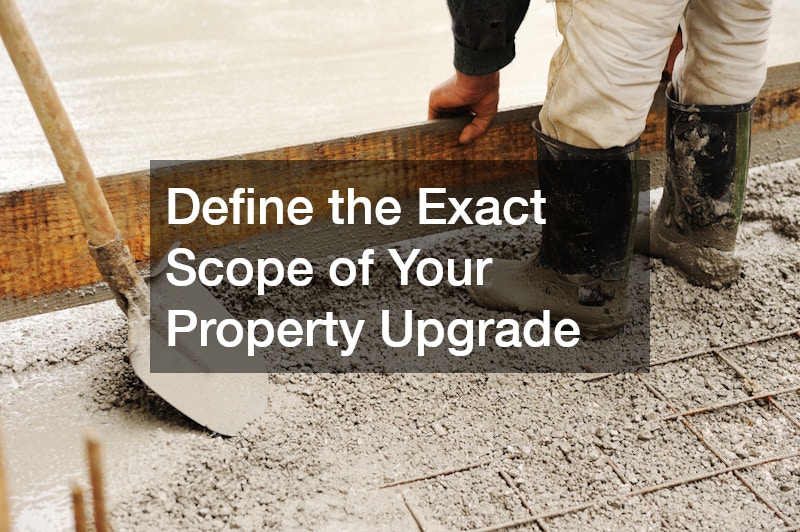
Define the Exact Scope of Your Property Upgrade
Before you even begin searching for professionals, you must clearly map out the physical realities of your project site. Are you building on untouched, virgin soil? Are you attempting to build over existing structures? Or does your property require heavy machinery to clear the site before any new work can begin? Understanding your starting point dictates the kind of expertise you will need to bring in.
Site preparation is arguably the most critical phase of any hardscaping project. If the ground is not properly assessed, cleared, and graded, whatever you pour on top of it will inevitably fail. When an old, deteriorating slab is already in place, you have to make a tough decision. While some superficial damage can be paved over, severe structural decay means you must completely remove the old material. This process is not a simple DIY weekend project. It requires heavy equipment, jackhammers, and dump trucks to safely execute the concrete demolition without damaging surrounding structures, underground utility lines, or local drainage paths.
Once the site is cleared, the actual installation requires immense precision. This is why vetting your primary concrete contractor is so important. You are not just hiring someone to mix materials; you are hiring someone to engineer a stable surface. When interviewing potential crews, you must be rigorous in your questioning.
Consider the following checklist when defining your project scope and interviewing experts:
-
Verify Licensing and Insurance: Never take a professional’s word for it. Request physical copies of their state licenses and ensure they carry adequate liability insurance and workers’ compensation. If a worker is injured on your property and the company is uninsured, you could be held liable.
-
Request a Relevant Portfolio: If you are pouring a massive retaining wall, looking at pictures of a contractor’s pool deck installations won’t help you. Ask to see a portfolio of projects that match your exact scope and scale.
-
Ask About Site Preparation Protocols: Inquire about how they handle soil testing, compaction, and grading. A professional will have a clear, scientific approach to preparing the sub-base.
-
Discuss Debris Removal: Clarify who is responsible for hauling away the rubble from the old site. This should be explicitly outlined in the contract so you aren’t left with a yard full of hazardous debris.
-
Evaluate Communication Skills: The planning phase requires back-and-forth collaboration. If a professional is difficult to reach or dismissive of your questions during the bidding process, they will likely be worse once the project begins.
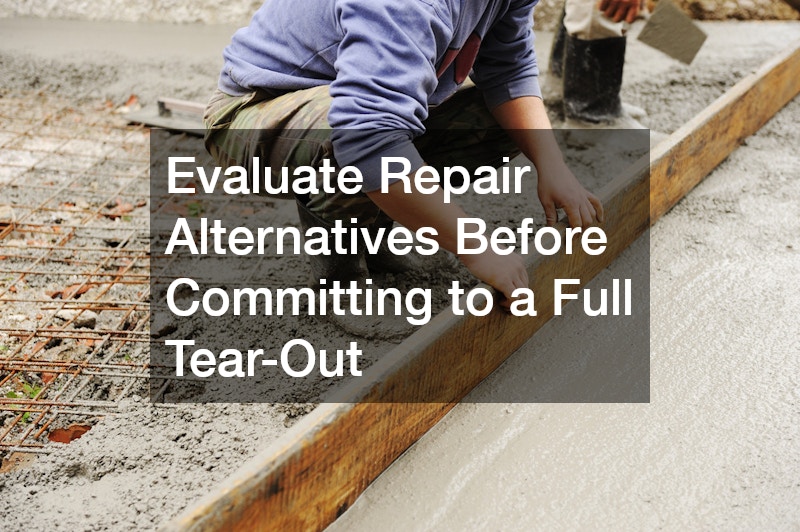
Evaluate Repair Alternatives Before Committing to a Full Tear-Out
It is incredibly common for property owners to see a sunken pathway or a cracked patio and immediately assume the entire structure must be destroyed and replaced. However, always test the structural integrity of sunken or uneven surfaces before committing to a costly, large-scale replacement. Often, the surface material itself is perfectly fine; the problem lies in the soil beneath it.
Understanding the mechanics of soil settlement is key to saving money. Over time, water runoff, poor initial soil compaction, and natural erosion can create invisible voids underneath heavy slabs. Without the support of the earth beneath it, the heavy slab sinks into that void, creating tripping hazards and uneven surfaces. Tearing out the slab does not fix the underlying soil issue; if you pour a new slab over the same eroding soil, it will sink again in a few years.
Instead of a full replacement, you should explore specialized repair methods. There are specialized concrete mudjacking companies that can save your existing hardscape. This process involves drilling strategically placed, small holes into the sunken slab. A stabilizing slurry—often a mixture of sand, cement, and water, or a high-density polyurethane foam—is then pumped through these holes under high pressure. The slurry fills the subterranean voids, stabilizes the soil, and gently lifts the sunken areas back to their original, perfectly level grade.
Here is how to determine if lifting and leveling is the right choice for your property:
-
Assess the Damage: Lifting works best on large, intact pieces of hardscape that have settled. If the surface is crumbled into dozens of tiny, fragmented pieces, lifting will not work, and replacement is necessary.
-
Identify the Water Source: Before you lift the slab, you must figure out why the soil washed away in the first place. Check your gutters, downspouts, and yard grading. If you don’t fix the water runoff issue, the soil will wash away again.
-
Compare Costs: Lifting and leveling usually costs about half as much as a full tear-out and replacement. Get quotes for both methods to make an informed financial decision.
-
Consider the Timeline: A full replacement can take days of noisy demolition and weeks of curing time. Lifting can usually be completed in a single afternoon, and the surface is ready for foot or vehicle traffic almost immediately.
-
Environmental Impact: Repairing existing materials keeps heavy rubble out of local landfills and requires significantly less energy and raw materials than pouring brand new materials.

Plan Your Vehicle Access and Parking Layout for Longevity
When it comes to areas designed for vehicle access, the margin for error is razor-thin. You must heavily assess your local climate’s freeze-thaw cycles, your property’s overall drainage slope, and the daily weight load before finalizing your parking layout. A pathway meant for foot traffic is engineered entirely differently than a surface meant to hold a three-ton SUV.
To ensure longevity, you must understand the materials and the engineering required for vehicular loads. When comparing various paving materials like asphalt, gravel, or pavers, the long-term return on investment of a properly reinforced concrete driveway is unmatched. While the upfront cost may be slightly higher than asphalt, it requires vastly less maintenance, reflects heat better in the summer, and can last for decades if properly installed.
However, achieving that longevity requires hiring the right specialists. You cannot hire a general landscaping crew for this task. You must seek out dedicated driveway companies that understand the specific physics of load-bearing pours. The strength of your parking area does not come just from the surface you see, but from the invisible layers beneath it and the reinforcement hidden inside it.
When planning your parking layout and vetting specialists, focus on these critical elements:
-
The Sub-Base Quality: The foundation must be excavated to the proper depth, filled with a crushed stone aggregate, and compacted with heavy machinery. If the sub-base is soft or improperly compacted, the surface will crack under the weight of a vehicle.
-
Proper Thickness: A standard pour for vehicular traffic should be an absolute minimum of four inches thick. However, if you plan to park heavy-duty trucks or recreational vehicles, you should request a five or six-inch pour.
-
Steel Reinforcement: The pour must be reinforced to handle the tensile stress of heavy vehicles. Discuss whether the installer plans to use a steel wire mesh or a grid of rebar. Rebar generally provides superior structural support for heavy loads.
-
Control Joints: Cracking is a natural part of the curing process. Professionals must cut deep, straight control joints into the surface to dictate where those cracks happen, keeping them hidden and preventing them from spider-webbing across the surface.
-
Proper Curing Time: The chemical process of curing takes weeks. A reputable installer will provide strict guidelines on how many days you must wait before walking on the surface, and how many weeks you must wait before parking a vehicle on it.

Choose the Right Colors and Textures to Match Your Architectural Style
Hardscaping does not have to be dull, gray, and purely utilitarian. Today’s techniques allow you to transform flat, boring surfaces into stunning architectural features. However, to achieve a cohesive look, you must request physical mock-ups and use digital design visualizers to ensure your new additions perfectly complement your property’s existing exterior color palette and architectural style.
If you are pouring a brand new patio, walkway, or pool deck, you have the opportunity to mimic luxury materials at a fraction of the cost. Through advanced techniques, wet materials can be colored and pressed with heavy polyurethane mats to replicate the look of natural flagstone, weathered wood planks, classic brick, or European cobblestone. Because this requires manipulating the material during a very short, time-sensitive curing window, you must hire an experienced stamped concrete contractor. They possess the artistic eye and the rapid physical coordination required to perfectly align the patterns and apply secondary antique release agents before the surface hardens.
If you already have existing, plain flatwork that is in good structural condition but looks faded or boring, you do not need to tear it out. You can revitalize older surfaces using deep-penetrating concrete staining. Unlike topical paints that simply sit on the surface and inevitably chip or peel away, acid-based and water-based stains penetrate the porous surface, reacting chemically to create rich, permanent, and highly variegated color profiles that resist UV fading.
To get the most out of your decorative upgrades, keep these tips in mind:
-
Acid vs. Water-Based Coloring: Acid treatments create earthy, mottled tones (like terracotta, brown, and green) that look like natural stone. Water-based options offer a much broader spectrum of vibrant, opaque colors, including bright blues and vivid reds.
-
Consider Slip Resistance: Highly polished and sealed decorative surfaces can become incredibly slick when wet, especially around pool decks. Ask your professional to mix a clear, gritty slip-resistant additive into the final sealer.
-
Plan for Maintenance: Decorative surfaces require slightly more maintenance than plain gray pours. You will likely need to reapply a clear, protective UV sealer every two to three years to keep the colors vibrant and protect the surface from weather damage.
-
Matching Existing Textures: If you are adding a new section to an existing patio, it is very difficult to match the exact color and texture of the old, weathered section. Consider contrasting colors or borders to make the addition look intentional rather than like a mismatched patch.
-
Test Small Areas First: Always ask the professional to apply their coloring agents to a small, hidden test patch on your property to ensure the final color reacts well with your specific surface before committing to the entire area.
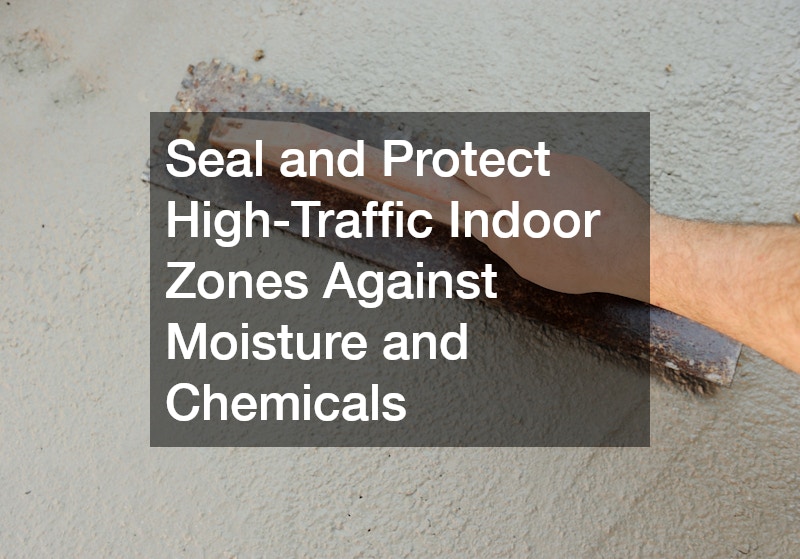
Seal and Protect High-Traffic Indoor Zones Against Moisture and Chemicals
While exterior hardscaping faces the wrath of the sun and freezing weather, interior surfaces face an entirely different set of destructive forces. You should never leave porous surfaces exposed in high-utility areas like residential garages, basement laundry rooms, or mechanical workshops. These environments are prone to constant moisture intrusion, vehicle fluids, dropping tools, and chemical spills.
If left untreated, a bare interior floor acts like a giant, rigid sponge. It will absorb motor oil, rust from old tools, and moisture from the earth below, leading to permanent, unsightly stains and a persistent damp, musty odor in your home. To prevent this, you must invest in heavy-duty protection.
The key to a successful interior transformation lies in the preparation. You cannot simply sweep the floor and roll a product onto it. The surface must be mechanically profiled—usually through aggressive diamond grinding or shot-blasting—to open the microscopic pores of the material. This rough profile allows the protective materials to sink in and grip the floor permanently. Once prepared, you can apply industrial-grade concrete floor coatings to completely seal the room. These coatings transform a dusty, porous, and easily stained floor into a seamless, brilliantly glossy, and highly resilient surface.
When planning an interior surface upgrade, consider the following critical factors:
-
Avoid Cheap DIY Kits: The water-based paints and cheap kits sold at big-box hardware stores are notoriously unreliable. They lack the chemical adhesion required to withstand the heat of car tires, leading to rapid peeling and flaking within a year.
-
Epoxy vs. Polyaspartic Resins: Standard epoxy is incredibly strong, thick, and cost-effective, but it takes days to cure and can turn yellow if exposed to sunlight. Polyaspartic resins are much more expensive but cure in a matter of hours, are highly flexible, and are 100% UV stable.
-
Moisture Vapor Testing: Before any coating is applied, a professional must test your floor for moisture vapor transmission. If groundwater is actively pushing up through the slab, it will eventually blow the coating right off the floor. A moisture barrier primer must be used in these cases.
-
Customization Options: Interior coatings can be heavily customized. You can add metallic pigments for a swirling, three-dimensional marble look, or broadcast vinyl color flakes across the surface to mimic the look of granite and hide everyday dirt.
-
Cove Base Installations: For the ultimate easy-to-clean environment, especially in workshops or laundry rooms, ask the installer to carry the coating a few inches up the walls, creating a seamless, waterproof “cove base” that allows you to simply hose out the room without worrying about water seeping under drywall.
Vet Specialists for Heavy-Duty and High-Volume Business Projects
When transitioning from residential properties to commercial or industrial facilities, the stakes get significantly higher. You must always separate residential builders from industrial experts when dealing with heavy machinery load-bearing requirements, strict municipal building codes, and the safety of the general public. A crew that builds beautiful backyard patios simply does not have the logistical infrastructure to manage a multi-acre warehouse pour.
Commercial environments present unique challenges that require highly specialized knowledge. A B2B facility manager must navigate tight overnight deadlines so business operations aren’t disrupted, adhere to strict zoning laws, and ensure every ramp and walkway is fully compliant with the Americans with Disabilities Act (ADA). Because of these intense regulatory and logistical pressures, facility managers must seek out dedicated commercial concrete contractors who have the workforce, the heavy machinery, and the project management experience to handle high-volume jobs flawlessly.
Furthermore, when a commercial facility experiences a failure—such as a forklift cracking a warehouse floor or a loading dock beginning to sink—it is not just an aesthetic issue; it is an immediate safety hazard and a massive liability. These issues must be addressed instantly with professional commercial slab repair to minimize business downtime, prevent damage to expensive warehouse equipment, and protect employees from workplace injuries.
When managing industrial and high-volume business projects, strictly enforce the following protocols:
-
Verify ADA Compliance Expertise: Ramps, handicap parking spaces, and entryway slopes must meet exact, mathematically precise grading requirements. If your contractor is off by even a degree, you could face massive fines and be forced to tear out and redo the work.
-
Demand Load-Bearing Specifications: Warehouse floors and loading docks must be engineered to withstand the concentrated, repetitive weight of loaded forklifts and semi-trucks. The structural engineer must specify the exact psi (pounds per square inch) strength of the mix and the density of the steel reinforcement grid.
-
Plan for Phased Execution: In a retail or industrial environment, you rarely have the luxury of shutting down the entire operation for weeks. The professionals you hire must be capable of working in phases, often overnight, securing and curing sections of the property while keeping the rest of the business operational.
-
Prioritize Safety Barriers and Signage: The liability of having open construction on a commercial property is immense. The hired crew must provide robust, OSHA-compliant safety fencing, clear signage, and traffic redirection to protect your customers and staff during the project.
-
Establish a Long-Term Maintenance Contract: Heavy-duty business environments take a beating. When hiring experts for a major build, negotiate an ongoing maintenance contract to have them return annually to inspect control joints, reapply industrial sealers, and immediately patch minor spalling before it becomes a massive structural failure.
Securing the Future of Your Property Investment
Embarking on a major property upgrade or structural repair is a significant financial and logistical undertaking. The difference between a stressful, continuously failing project and a beautiful, lifetime-lasting result almost entirely comes down to the planning and hiring phase. As outlined in this guide, you must understand the precise scope of your work before you ever pick up the phone to request quotes. Whether you are dealing with a residential decorative finish, a structural stabilization issue, or a massive industrial load-bearing pour, there is a specific, highly trained expert suited for your exact needs.
As you move forward, remember to prioritize clear, documented communication. The lowest bid is rarely the best bid; often, exceptionally low quotes indicate a lack of proper insurance, subpar materials, or corners being cut in the invisible, crucial sub-base preparation. Demand detailed, itemized written contracts that explicitly outline the site preparation, the specific materials being used, the cleanup responsibilities, and robust, legally binding warranties.
Take the time to walk your property today. Take note of current damage, assess your water drainage, and identify areas where strategic upgrades could increase the value and functionality of your space. Armed with the technical knowledge and the rigorous vetting checklists provided in this guide, you are now fully equipped to schedule your first consultations, separate the reliable experts from the amateurs, and confidently execute a flawless upgrade to your property.